-->

Tuesday, May 24, 2011

Day 133 - Papua New Guinea - Mumu in a Drum - Up Next, Paraguay


Tonight's meal from Papua New Guinea is a traditional, rural dish that I have slightly westernized via the Fair Trade Cook Book. A slow-cooked, layered dish that is typically simmered over a grated open fire using a 5 gallon drum and banana leaves, I had to substitute a cast iron dutch oven and spinach leaves. I couldn't find a clean drum and my grocery store was out of fresh or frozen banana leaves, which is a first.  Other than that, I stayed true to traditionally used root vegetables, greens and fruit. Mumu can be cooked on the stove, but since I dug a fire pit last year, I was able to cook Mumu on an open fire as is traditionally done. The combination of meat, fruit, root vegetables, greens and coconut milk cooks up beautifully, and the prep involved is minimal, as you can use whatever vegetables you have on hand to make this delicious and traditional dish.

Located in the Southwestern Pacific Ocean, the Independent State of Papua New Guinea is closest to Australia to the south and the Solomon Islands to the east.  The eastern half of the island is owned by New Guinea and the western portion is a part of the Indonesian provinces of Papua and West Papua. The majority of the population live in rural areas, many in extreme poverty.

A mountainous country with a tropical climate, the island is one of the most culturally diverse in the world, with 850 indigenous languages and societies. The country also has one of the richest eco-systems in the world, and boasts over 3,000 varieties of orchids along with 9,000 varieties of plants, species of birds and animals, many of which may yet to have been discovered.

Cuisine in Papua New Guinea includes many root vegetables such as taro (yucca), sweet potatoes, palm, bananas, kau, kau, avocado, mango, pineapple and many leafy greens. Chicken, pork and sea food are typically eaten, often wrapped or layer using banana leaves.


Mumu (Adapted from The Fare Trade Cookbook)

1 lb. assorted root vegetables (sweet potato, yuca, carrots)
3/4 pound pork (I used pork butt)
3/4 pound chicken (I used boneless, skineless thighs)
3/4 pound fruit (I used pineapple
3/4 pound green vegetables (I used green beans, spinach and kale)
1 onion, sliced (optional)
2 cloves garlic, chopped (optional)
1 can coconut milk

Lightly oil a large metal casserole dish or dutch oven.
Line with spinach and/or kale leaves (or banana leaves)
Make a layer of root vegetables, hardest at the bottom
Make a layer of pork
Make a layer of fruit
Make a layer of poultry
Make a layer of green vegetables, onions and garlic
Add in the coconut milk
Cover everything with spinach and/or kale leaves

Cover and place the casserole or dutch oven over a grated open fire or over a medium flame to bring the juices up to cooking temperature (about 15 minutes)
This dish is traditionally never stirred.
Turn the flame down to the lowest setting - or make sure open fire is burning slowly and simmer gently for about 1 hour or until the meat and vegetables are tender and cooked to your taste.
Traditionally, the meal is eaten with your hands.

Final Assessment: We all loved this meal, and the combination of fruit and meat is always one I enjoy. The yuca and root vegetables are satisfying and the spinach and kale just make you feel good. I love that any vegetables and fruits you have on hand can be used. I'll definitely make this again.

Sunday, May 22, 2011

132.5 - Hand Churned Sweet Cream Butter and Herbs de Provence Sea Salt


Hello? Antique kitchen tool rehab? It all started out so innocently -- just a quick trip to Lowes to pick up a few window boxes and flowers. Check. But on the drive home, an "Estate Sale" sign lured me from afar. I know, I know, the first step is admitting I have a problem.

If you're familiar with Sigmund Freud's developmental theory, you know that we're basically simple creatures whose psyches revolve around 3 conflicting forces: the Id=I want; the Ego=reality check; and, the high and mighty Super Ego=do the right thing. Sadly, even in my adulthood, when I see a yard sale sign, my barely dormant Id kicks both my Ego and Super Ego straight to the curb in short order. So into the estate sale I went.

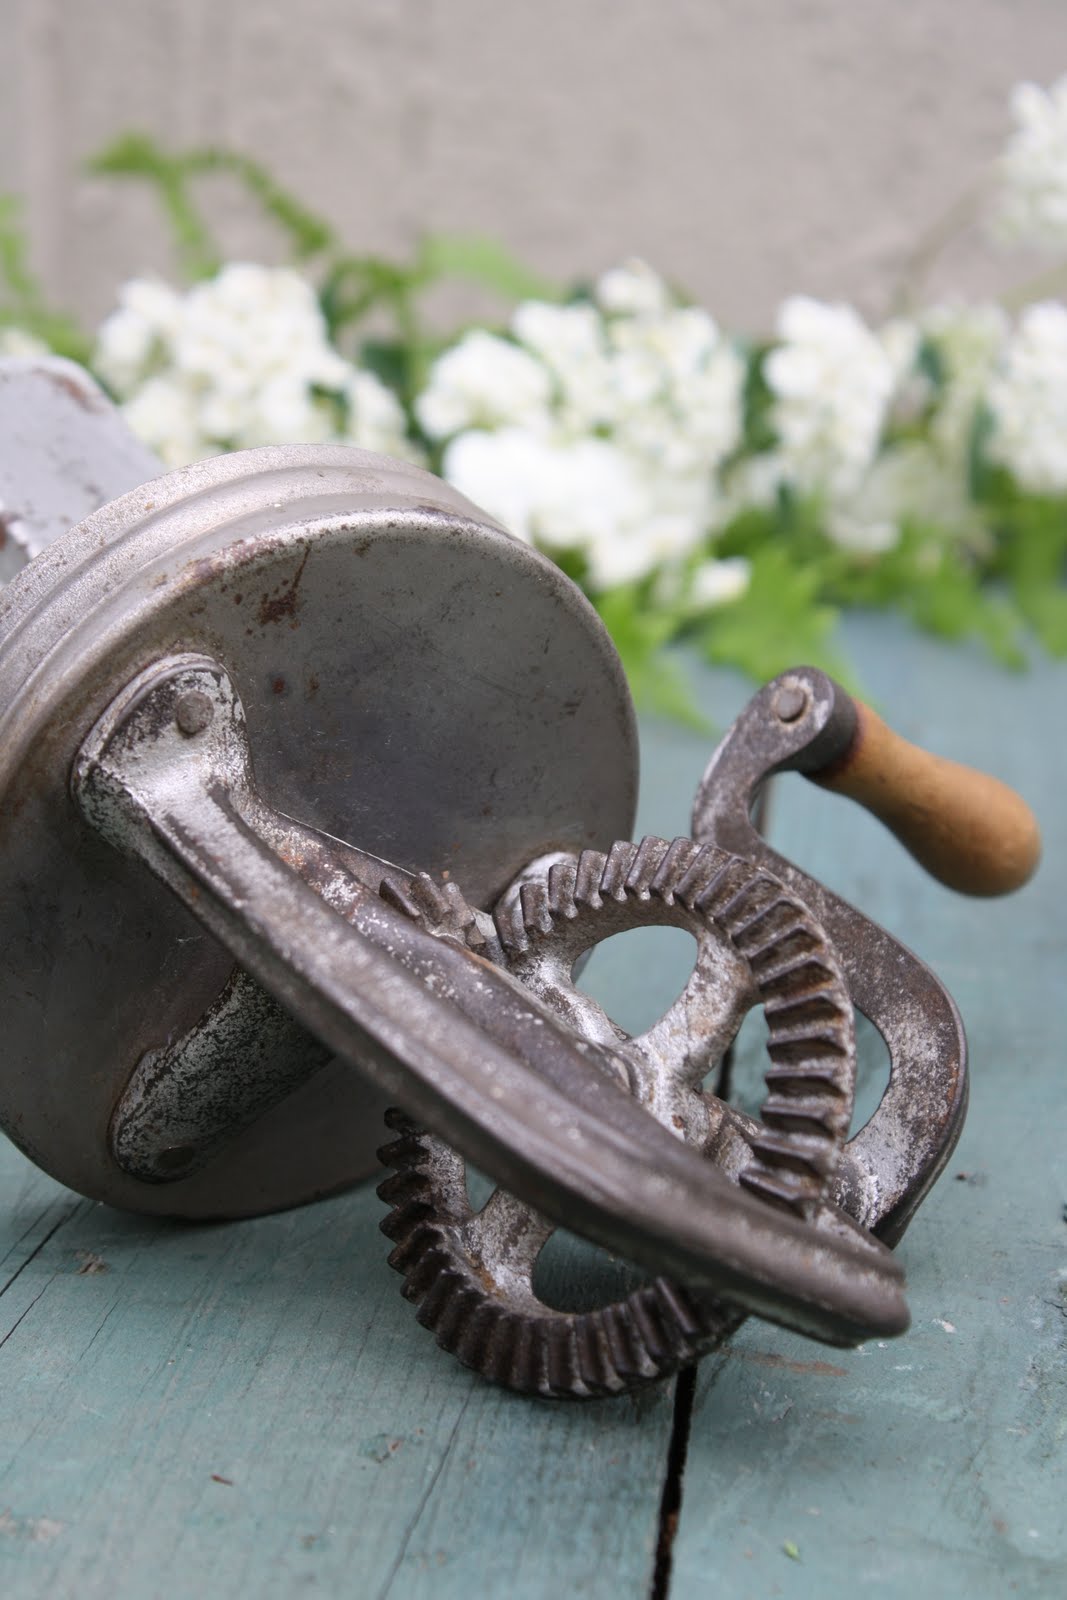
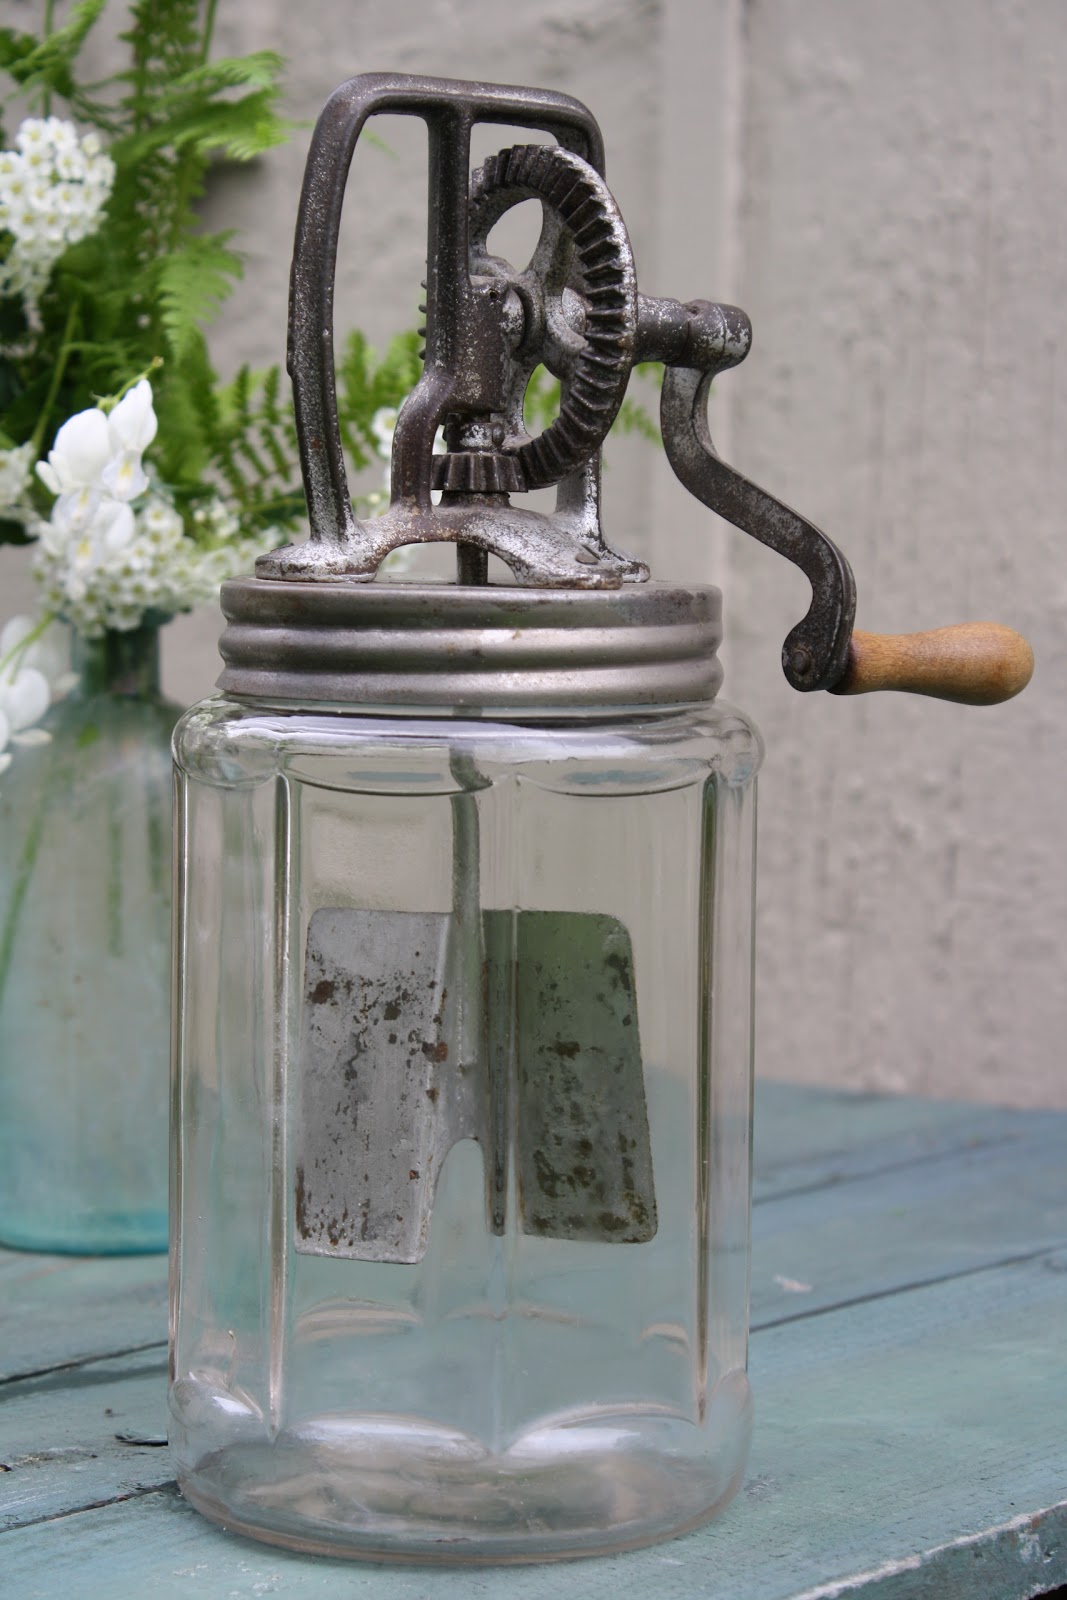
The first thing I spotted was a mint-condition antique butter churn. It was way out of my price range, so I did the right thing (Super Ego momentarily activated) and left.  But when I got home, I began obsessing. Id  I really wanted that butter churn to make butter the old fashioned way. Plus, I have a thing for simple machines. To say that I'm not the slightest bit mechanical is an understatement, but I love the utility and ancient genius behind gear-driven tools. Knowing that I'd be impossible to live with until it was mine, my sweet husband sent me back to buy it. And now it is. Mine. A big thank you to the Sherman-Ghelli family, whose Mother, Wilma, was an avid antique collector. I promise to treasure and use your Mom's butter churn with care and deep appreciation.

So that's how the butter got made. But next to my family and my dog, the only thing I love more than butter is salt, which is how the Herbs de Provence got made. The lavender I used to season the salt mix was purchased in 1983 in Aix en Provence when my dear friend Marylou and I traveled to France together on a whim (B.C. kids and mortgages, and such). I've kept it tightly stored in it's original packaging and it still smells as good (and French) today as it did 23 years ago.

Hand Churned Sweet Cream Butter


Herb de Provence Sea Salt


Hand Churned Sweet Cream Butter 
(You can use a jar, stand or hand-held mixer or a hand hand held beater in lieu of a butter churn)

1 pint very cold heavy cream
Pinch of salt (optional)

Pour cream into butter chilled churn (or container you're using). Churn for 15-30 minutes until cream becomes chunky and cream takes on a soft yellow tint. You will see liquid separate from the chunks (butter), which is buttermilk.
Strain the butter, reserving the buttermilk in a clean container. Refrigerate and use later for dressing, pancakes, biscuits,  etc...
Now turn the drained butter into a clean bowl and cover with very cold water to firm it up. Rinse and repeat until the water runs clear.
Once the water runs clear, use your hands or a rubber spatula to press out any remaining liquid. If you like your butter salted, add a pinch or two of salt to taste.
Spoon the butter into a clean container and smooth with a spatula or knife to remove air bubbles.
Refrigerate and use liberally and without guilt.

Herbs de Provence Sea Salt (Adapted from The Splendid Table)

4-5 garlic cloves, peeled
1/2 cup sea salt
1 Tbsp. Thyme
1 Tbsp. Rosemary
1/2 Tbsp. Savory (I improvised with ground savory because I forgot to buy it)
3/4 Tbsp. Lavender

Cut each garlic clove lengthwise through the center.
Mound the salt and garlic on a cutting board. Use a large chef knife to mince the garlic, blending it with salt as you work.
Coarsely chop all the herbs, then add them to the garlic salt mixture and continue chopping until it resembles coarse sand.
Place salt on a cookie sheet or plate and leave near an open or sunny window for a couple of days to dry.
Store in clean, dry jars.
Use to season chicken, fish, potatoes, vegetables or anything your heart desires.


Wednesday, May 18, 2011

Day 132! Panama -Empanadas with Aji Sauce - Up Next, Papua New Guinea


Photographing tonight's Panamanian meal was a bit of a challenge due to the continuous rain, fog and generally dark, gloomy weather we've been besieged with here in the Northeast for the past 2 weeks. I have learned to photograph indoors using only available light (thank you, Jeff Kauck), but alas, without the lights on, my kitchen was practically pitch black. So...since I don't own any fancy lighting apparatus, I was stuck with what I had -- plain old light bulbs. Hence, tonight's photographs have a slightly pinkish tint for which I apologize. I did try shooting the final plate (pictured above) outside under the back door awning, but the rain kept dripping off the awning onto my back, my socks got soaked and our dog and cat kept creeping up on the plate to try to steal the goods - so I gave up and came inside. Luckily, these Panamanian Empanadas with Aji sauce taste as good on in the dark as they do on a bright, sunny day - which is a good thing because there's no sun in the immediate forecast.

Officially the Republic of Panama, it is the southern most country in Central America and is situated on the isthmus, that connects North and South America. Originally settled by the Spanish in the 16th century, the country broke with Spain in 1821 and joined with Nueva Granada, Ecuador and Venezuela.  When the union dissolved in 1830, it remained part of Columbia, but by 1903, it seceded from the country. Between 1904 and 1914, with backing from the U.S., the Panama Canal was built, which the country now fully owns and controls. Besides the Amazon rain forest, Panama boasts the largest rain forest in the Western Hemisphere, which is home to a many rare tropical plants, animals and birds, and undoubtedly some that have yet to be discovered.

Cuisine in Panama is varied and interesting, as it is influenced by the two continents it bridges. African, Spanish, Native American traditions can all be found in many Panamanian dishes. Cilantro, maize, rice, wheat flour, plantains, yucca, beef, chicken and seafood are all commonly cooked with an eaten in this beautiful country.

Pastry Dough


Filling


Aji Sauce


Panamanian Empanadas (Adapted from Wikia)

Pastry Dough
3 cups unbleached four
1/2 tsp. salt
1 cup shortening
3/4 cup cold water
1 Tbsp. vinegar
2 egg yolks

Combine four and salt in a large bowl and cut in shortening, using 2 knives or a pastry blender until it looks like pea-sized pieces - don't worry if it's not perfectly uniform.
In another bowl, combine water, vinegar, and egg yolks, then mix well
Add the liquid to the dry ingredients.
Mix with your hands and form into a ball.
Wrap with plastic wrap and refrigerate for at least 30 minutes.

Filling
2 Tbsp. oil
1 lb. lean beef, coarsely ground
1 lb. lean pork, coarsely ground
2 tsp. salt
1 tsp. freshly grated black pepper
1 tsp. cayenne
1-1/2 cups onions, finely chopped
1 large green bell pepper, finely chopped
2 jalapeño peppers, seeded and finely chopped
4 tomatoes, seeded and chopped
1 tsp. ground thyme
1/2 tsp ground allspice
1/2 tsp. grated nutmeg
1/4 cup raisins
3 Tbsp. red wine vinegar
1 cup green or red pimento (I bought a jar)
1 egg
1 Tbsp. water

Mix beef, pork, salt, pepper and cayenne together using your hands.
Heat the oil in a large skillet and brown the meat well, then set aside.
Add a little more oil if needed, and saute onions, bell peppers, chiles and garlic until soft.
Return meat and pan juices to the pan.
Add tomatoes, raisins, vinegar, thyme, allspice and nutmeg.
Simmer until meat is tender, about 20 minutes, stirring occasionally.
Add vinegar and pimento and simmer another 10 minutes.

Assembly
Beat the egg and water together.
Remove dough from the refrigerator and cut in half, return half to the refrigerator.
On a lightly floured surface, roll out the dough thinly.
Cut 6" circles - (I used a bowl)
Add a generous portion of filling to the center of each circle.
Fold the dough in half over the filling and crimp the edges with a fork.
Pierce the tops of the pastries with a fork and brush tops with the egg/water mixture.
Place on a cookie sheet lined with parchment paper (or lightly greased).,
Repeat with other half of dough, gathering up scraps until all the dough is used up.
Bake in a preheated 375 F oven for 15 minutes or until golden.
Serve warm or at room temperature.

Aji Sauce (Adapted from Tommaso's Sinful Delights blog)

4 tomatillos, papery skins removed 
5 scallions, chopped
1/2 cup cilantro
1 jalapeño, seeded and chopped
1-1/2 limes, juiced
2 Tbsp. red wine vinegar
Salt and pepper

Boil the tomatillos for 10 minutes. Combine tomatillos, cilantro, scallions and jalapeño in the bowl of a food processor and pulse until desired texture is achieved.
Serve with empanadas.

Final Assessment:  These were delicious and easy to make. The addition of raisins to the filling provided a great balance to the spice and (mild) heat of the chilis. I left them in the oven 5 minutes longer than the recipe called for because I like the pastry to be crunchy and deep golden. The Aji sauce added a tangy zing to the empandas that we all loved - anything with cilantro and tomatillos has to be tasty, right? 

Saturday, May 14, 2011

Day 130.5 Candied Violets and Violet Martinis (Reposted)

This entry is being reposted as it mysteriously vaporized due to a system-wide Blogger malfunction....


Recently, my friend Renee posted a photograph on Facebook of some beautiful spring violets she'd seen in her yard. After a lively discussion about their weed v.s. flower status (they are a flower), I got to thinking...which is were the trouble always starts...just ask my handsome husband. I woke him up at 2 a.m. this morning to run this blog post by him. The man is truly a (tired) saint.


A lovely, old fashioned flower that was popular in the 19th century, violets are not only beautiful harbingers of spring, but edible. And, it just so happens that in addition to a field of dandelions from which I recently make a Dandelion Greens Salad, I also have these dainty purple and white wild violets sprouting up all over my yard and garden. There are lots of recipes around, but as luck would have it, a little research led me to the excellent blog, The Feast Within, where I found exactly what I was looking for: recipe for Violet (simple) Syrup to make Violet Martinis and directions for Candied Violets.

Score...dessert and cocktails, all from one sweet little flower right there in my back yard! Mother Nature is the (wo)man.

And, as if all this excitement wasn't enough, today I found a set of vintage violet martini glasses at my local consignment shop for $10 - can you beat that? Thank you Thrifty Interiors, I love your store!
 
Candied Violets


Violet Simple Syrup


Candied Violets (Recipe Adapted from The Feast Within blog)

1 large bunch wild violets, gently washed with a fine mist
2 egg whites or dried egg whites (if you're worried about salmonella)
Superfine sugar (or regular sugar run through a food processor for a few minutes)

Using a gentle mist, carefully wash violets and place on paper towels to air dry.
In a bowl, beat egg whites (or substitute) with a wire whisk until just frothy.
In another bowl, place sugar.
With a small paint brush, paint each violet with the egg white, then sprinkle with sugar.
Line a cookie sheet with parchment paper and place sugared violets on cookie sheet.
Place cookie sheet in a pre-heated 200 F oven for 30 minutes to dry flowers.
Using a small fork or gentle fingers, very carefully remove to a wire rack to cool.
Stored in an air tight container, they will keep indefinitely. Separate layers with waxed paper to avoid sticking.
Use to decorate cakes, cupcakes, whipped cream topping and salads.

Violet Simple Syrup (Adapted from The Feast Within)

 2 cups fresh violets, stems removed
1 cup water, boiled
1-1/2 cups sugar
Juice of 1/2 lemon

Gently wash violets in water then drain on paper towels.
When dry, place them in a clean, sterilized jar that has a lid.
Bring one cup of water to a boil, then pour over the blossoms.
Place lid on jar and let sit to infuse the water for 24 hours, shaking the jar gently from time-to-time.
Stain the blossoms out of the jar into a bowl - do not press on the blossoms.
Strain the pulp from the lemon juice and add by 1/4 tsp. to the violet juice.
The juice will be inky blue at first, but will turn a magenta color as you add the lemon juice - I wanted to keep mine blue, so only added a 1/4 tsp., but you can add as much as you want to get the desired color.
Place violet juice in a heavy bottom, non reactive sauce pan and add 1-1/2 cups sugar.
Bring to a boil over medium low heat and boil for 10 minutes.
Place in a sterilized jar and store in the refrigerator.

Violet Martinis

1/2 ounce violet simple syrup
1-1/2 ounce vanilla or plain vodka
2 ounces cranberry juice (optional, but cuts the sweetness, which I like)

Add vodka, violet syrup and cranberry juice in a glass with ice, and stir or shake for 15 seconds.
Pour into chilled martini glasses.
Garnish with violets

Final Assessment: Whoa - this was so much fun to do. The violets are beautiful and elegant, and the martinis, well, who wouldn't love a martini violet. My husband thought he'd died and gone to heaven when he got home from work tonight and I handed him a violet martini - which he definitely deserved. Have fun with these recipes and tweak them to make them your own!