-->

Friday, March 18, 2011

Day 116! Morocco - Chicken Tagine with Preserved Lemons and Olives - Up Next, Mozambique


Few things excite me more than when I receive comments from readers in countries I have or will cook in. Several weeks ago, I made preserved lemons in anticipation of making a Moroccan tagine. A few weeks later, I got a comment from a gentleman in Morocco who told me how preserved lemons are truly used in his country. Several emails later, my friend Mohammed kindly sent me an authentic Moroccan chicken tagine recipe which I am preparing tonight (and hoping meets with his approval!). Mohammed works as a translator for La Maison Arabe and does cooking workshops, in Marrakesh, Morocco. He also provides tips and advise for people visiting Marrakesh. A million thanks for your generosity, Mohammed.


But the excitement doesn't stop there - oh, no! One of my life-long bff's, gave me the most exquisite tagine for my birthday. I've never cooked with one, but tonight this beautiful piece of art/crockery makes its debut. Te quiero mami.

And, as if that wasn't enough, my friend Kate, the owner of Kamala Boutique gave me these beautiful melamine olive bowls to use for this recipe.  Not only are they gorgeous to look at, but they feel and sound (when you tap them) like ceramic - so much so, that I couldn't tell the difference. Check out Kamala Boutique to see more of these beautiful dishes.

Located in North Africa, the beautiful country of Morocco is part of the Maghreb region, along with Tunisia, Algeria, Mauritania, and Lybia with whom it shares cultural, historic and linguistic ties along with the country's own unique culture. Arabs and Berbers are the predominant population in Morocco.

Cuisine in Morocco is extremely diverse, owing to Berber, Moorish, Mediterranean and Arab influences. Unlike Middle Eastern cooking, Moroccans use a whole range of spices to flavor their dishes including: saffron, mint, olives, oranges, lemons, cinnamon, cumin, ginger, pepper, paprika, anise, sesame seeds, coriander, saffron and parsley. The country boasts a large variety of Mediterranean fruits and vegetables. Similarly, mutton, lamb, beef, chicken, camel, rabbit and seafood are all available. The mid-day meal is the main meal of the day, consisting of hot and cold salads, tagine, bread and/or couscous, finished with sweet mint tea. These are ingredients and dishes that look as spectacular as they taste and smell. Truly a treat for the senses.


Chicken Tagine with Preserved Lemon and Olives (Recipe Adapted from truebeliever)
Serves 4
Preparation time: 15 mintues
Cooking time:  60 minutes

1 whole cut up chicken, cut in chunks, bones in (I used thighs)
1 preserved lemon
20 preserved olives
1 medium red onion
2 Tbsp. parsley
2 Tbsp fresh coriander (cilantro)
4 cloves garlic, mashed
1 tsp. black pepper
2 tsp. ginger powder
2 heaping tsp. turmeric
1/2 tsp. saffron threads, crush with a pinch of salt
4 Tbsp. olive oil
2 Tbsp. ghee
2 cups of water or chicken stock

Cut preserved lemon in half, remove pith and pips and rind. Reserve peel and chop flesh. Put chopped lemon in a tagine (Dutch oven or creuset) - be sure to set the tagine atop a diffuser!
Add in olive oil, finely chopped garlic, parsley and coriander and spices.
Then coat the chicken in the marinade and add in finely chopped onion.
On medium heat, sear the tagine for about 15 minutes. You need to be close to the tagine, otherwise the chicken will stick. You can add a little water and keep searing if it sticks.
After 15 minutes, add about 2 cups of chicken stock or warm water and simmer for 45 minutes. When the chicken becomes nicely browned and the sauce is thick, add in lemon peel and 20 olives and cook for another 5 minutes.
Serve with couscous, salad and bread (so you can mop up all the delicious sauce)

Final Assessment: Oh, the smell, taste, colors and texture of this tagine....The whole house smelled of lemons, herbs and spices. I doubled the recipe (from 2 to 4), and not a drop was left in the tagine. This is one of those dishes I'm going to start experimenting with...maybe even tomorrow! There are many places to buy a tagine if you must have one, mine can be purchased: here.


Thursday, March 17, 2011

Day 115! Montenegro - Soul Soup - Up Next, Morocco


I can't be sure how this Montenegrin soup came to be named "Soul Soup," but I can guess. As with any dish - especially soup - that's slow-simmered over the course of several hours,  the more time and heart that goes into it, the more the soul of the dish emerges. This soup is as hearty as it is healthy, and could easily be adapted to a vegetarian meal by omitting the pork. Ladled into big soup bowls, sprinkled with fresh parsley and topped with a healthy pinch of sea salt and freshly ground pepper, you will surely feel your soul fed and replenished as only a steaming bowl of soup can do.

This recipe called for a rutabaga, which I had always (mistakenly) thought was a turnip. Turns out, they are quite different, although both belong to the mustard family. The turnip is an ancient vegetable dating back to Palaeolithic times, while the Rutabaga, a cross between a turnip and a cabbage was "invented" in the 18th century. The rutabaga tends to be a bit sweeter and starchier than the turnip, and turns from white to a lovely light orange color when cooked. Added to the soup, it imparts a surprisingly rich, sweet flavor.


Located in southeastern Europe, Montenegro, meaning "black mountain"  sits along the coast of the Adriatic Sea and borders Croatia, Bosnia and Herzegovina, Kosovo and Albania. The rich history of the country dates back to the 10th century. Cuisine in Montenegro is influenced by Italian traditions which is reflected in the country's methods of bread making, meat curing and drying, cheese making, wine, soup, stew techniques. Levant and Turkey also influence Montenegrin cooking and pastry making.


Montenegrin Soul Soup 

1-1/2 pound boneless pork butt or smoked ham hocks
4 cups dried beans (mixed package, soaked overnight)
1 cup diced onion
1 cup diced celery
1/2 cup diced green pepper
5 large cloves garlic, crushed or diced
2 cups diced carrots
2 cups diced rutabaga
2 cups diced zucchini or broccoli
2 Tbsp. parsley
1 Tbsp. ground pepper
1 tsp. basil
1 tsp. coriander
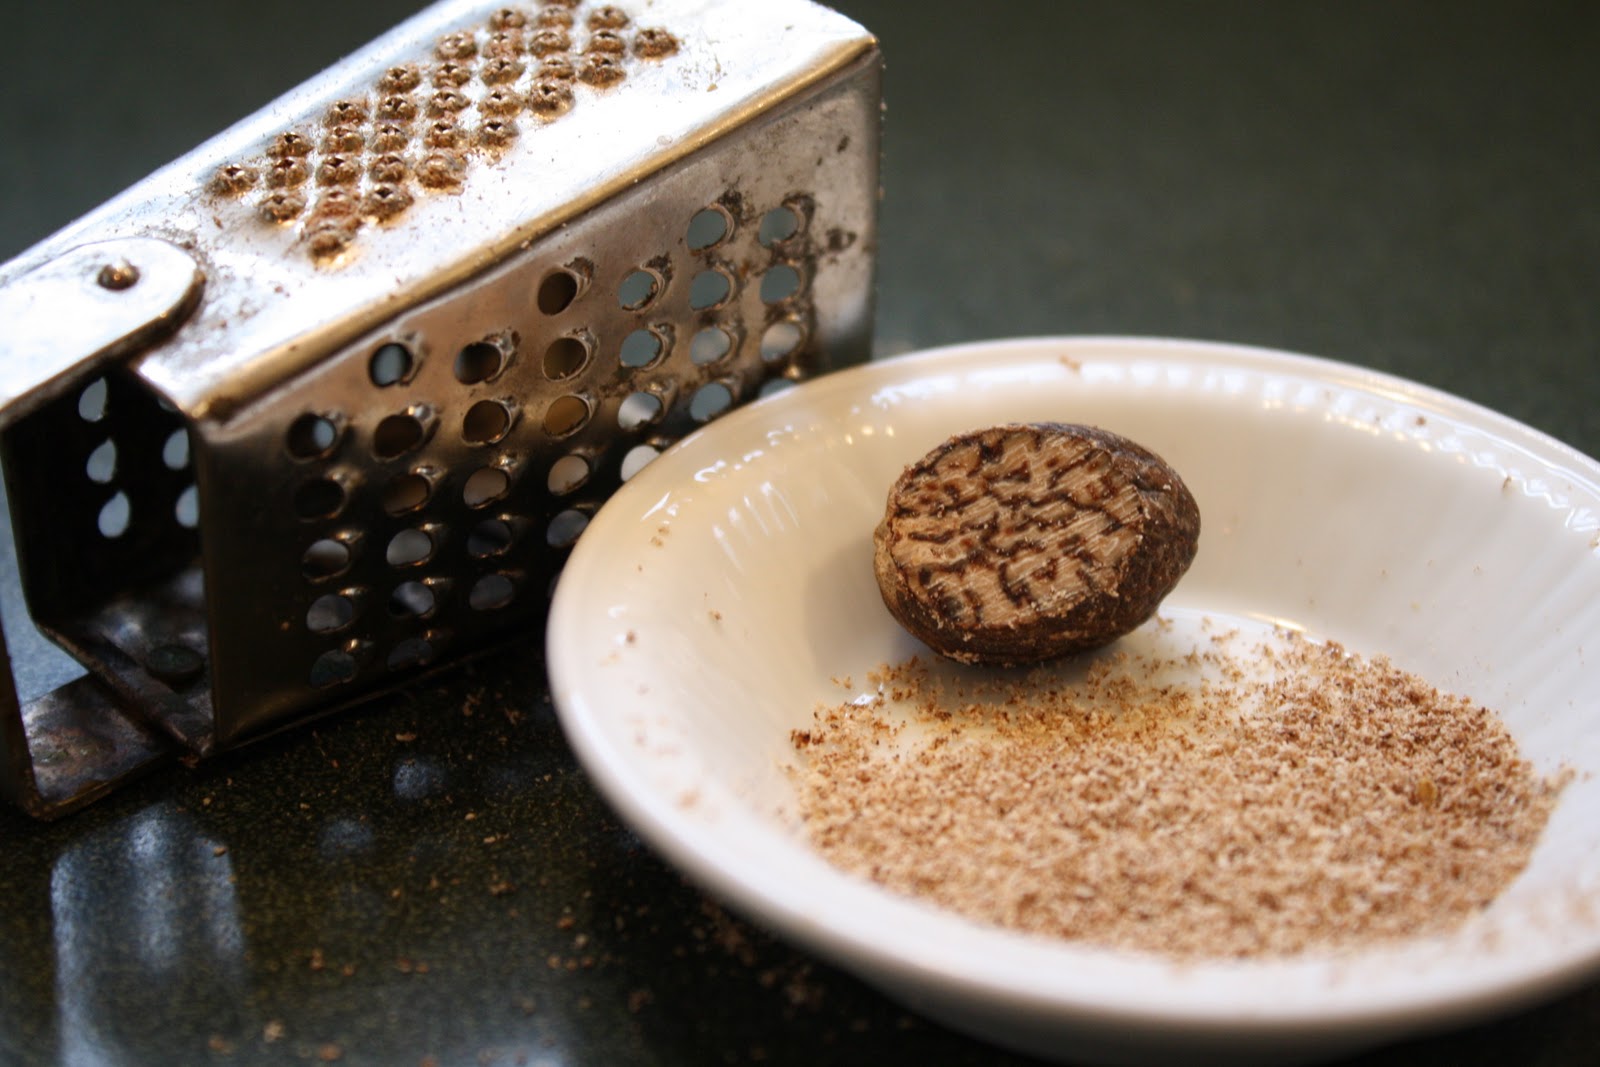
1 tsp. nutmeg
1 tsp. bouquet garni or parsley, thyme and bay leaf tied or bagged
1 cup barley

Soak beans overnight for 8-9 hours.
Put ham and beans in a large pot. Cover with about 2-inches of water, bring to a boil, then turn heat down low and simmer covered for on hour.
In olive oil, saute onions, celery, green pepper and garlic until soft, then add to soup pot and simmer for another hour.
Remove meat and shred with fork, then return to pot.
Add carrots, rutabaga, zucchini and barley and simmer for another hour.
Add parley at end and ladle into large bowls.

Final Assessment: This recipe makes a large pot, and I'm almost certain that it'll be better tomorrow after the creamy barely has thickened up the broth. We lapped it up with a loaf of crusty bread and called it dinner!

Wednesday, March 16, 2011

Day 114.5 Saint Paddy's Day Cacao Nib Shortbread Cookies


Living as I do in an old New England neighborhood that was settled by Irish immigrants, and as I'm of Irish descent, married to an Irish man and was recently given a beautiful old yellowware bowl with shamrocks on it (thank you Clay&La), it seems only fitting to honor Saint Patrick's Day by baking shortbread cookies, the cookies of choice in Ireland. Now, before anyone sends me hate mail, I KNOW shortbread cookies originated in Scotland, but according to sources near and far, the Irish dig shortbread cookies more than any others, and so do I.


While thinking about what to make, I did consider something green. But, honestly, I have trouble with fake-colored food. Don't get me wrong, when my kids were little we made green eggs and ham, colored the milk orange and used copious amounts of multi-colored frosting on cakes. Once, and only once, I let them con me into buying green catsup, which when squirted on a perfectly good Boar's Head hot dog, rendered it completely vile and inedible, even to them - and that's sayin' something.

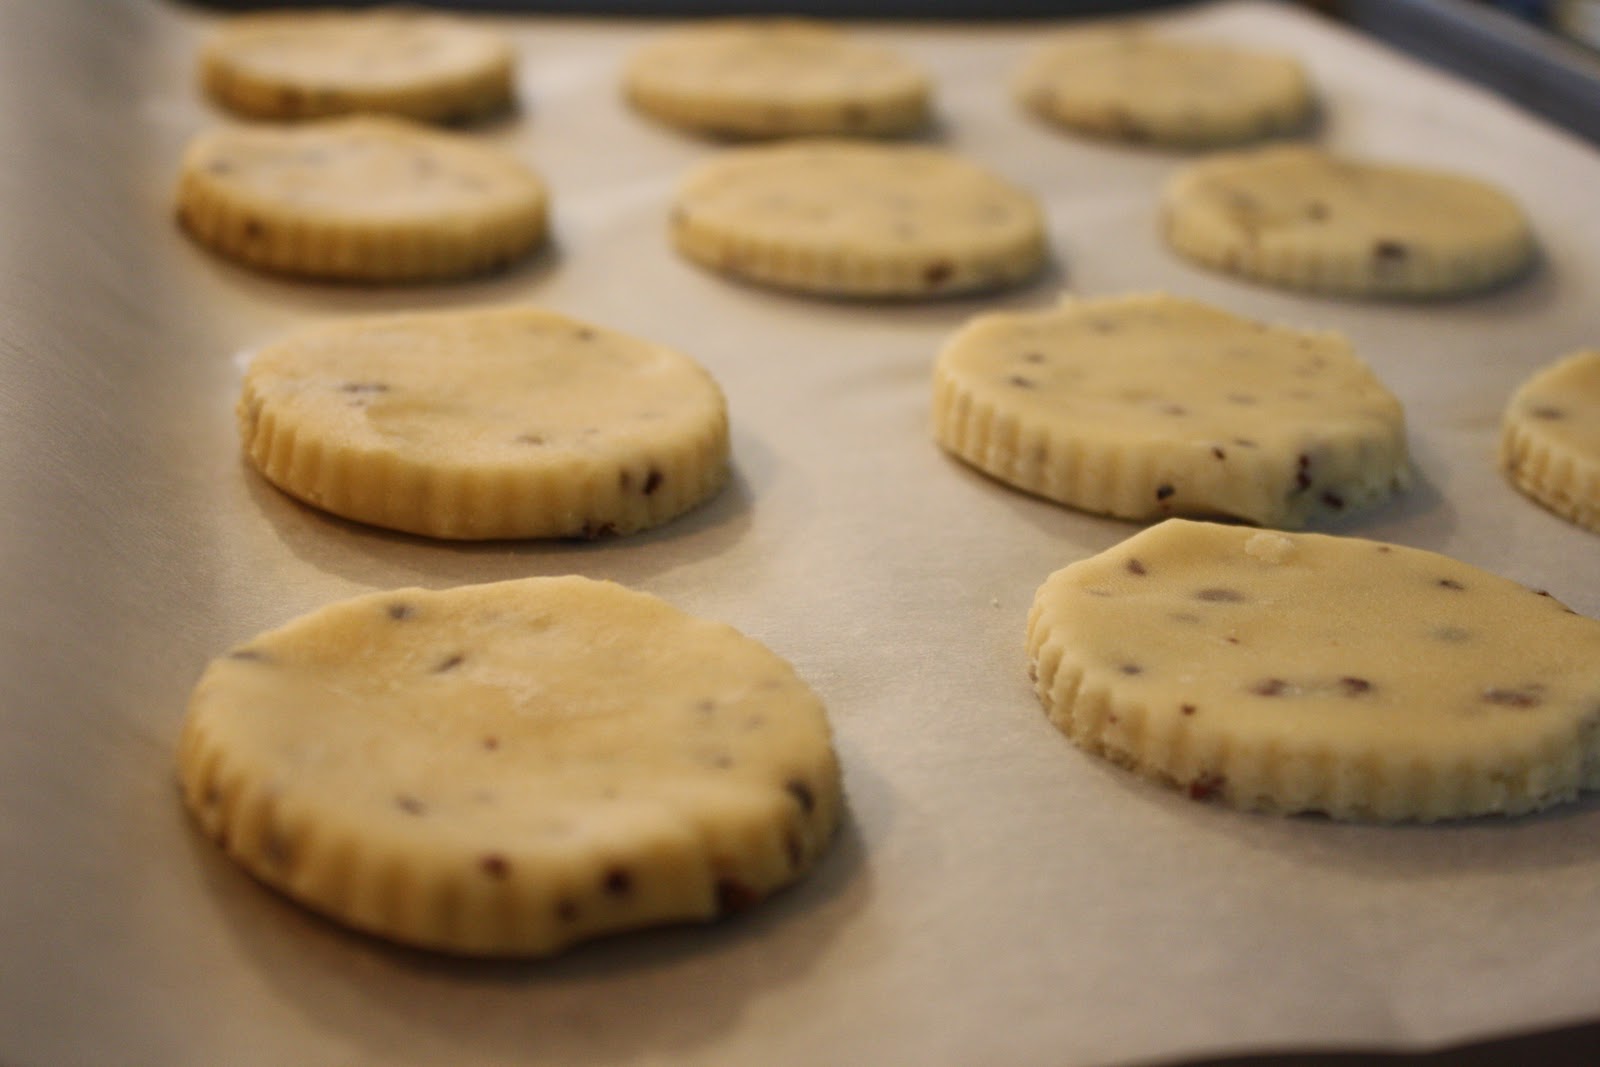
So these are decidedly grown up cookies. They're my favorite because they have a creamy, crumbly texture and aren't too sweet. Just one of these rich cookies is perfect with a cup of afternoon tea. To spice up the simple shortbread cookie a little, some like to add chocolate chips to their dough, but I find that sweetens them too much. I opted to use cacao nibs, roasted and shelled cocoa beans, which I have just recently discovered. Nibs have a lovely nutty-crunchy texture, and subtle chocolate flavor and scent.  The result is a beautifully flecked cookie that satisfies the sweet-tooth without drowning it in sugar. And, as a bonus, there are only 5 ingredients in the entire recipe - how sweet is that?!


Irish Cacao Nib Shortbread Cookies (Adapted from The Fanny Farmer Cookbook)

1/2 pound (2 sticks) butter
1/2 cup confectioners' sugar
2 cups flour
1/4 tsp. salt
1/8-1/4 cup cacoa nibs

Preheat oven to 350F. Cream the butter, then gradually add the sugar, beating well. Mix the flour and salt together and add to the first mixture, then add cacoa nibs combining thoroughly.  Roll out the dough with a rolling pin until it is 1/4 inch thick, then cut into rectangles or any other desired shape. Put them on ungreased cookie sheets, prick each cookie with a fork, and bake for 20-25 minutes or until lightly browned around the edges.

Sunday, March 13, 2011

Day 114! Mongolia - Buuz ( Бууз) Dumplings - Up Next, Montenegro


Sometimes the simplest food turns out to be the best. These Mongolian "Buuz" dumplings which are commonly eaten steamed, were not only fun and easy to make but surprisingly tasty, despite only using garlic, onions and caraway seeds to season the ground lamb filling. Topped with a little bit of butter and fresh ground pepper, my crew gobbled these up in seconds. Whether you're looking for a fun project to do with kids, or a treat for no special reason, these dumplings are ideal. Any ground meat could be substituted for lamb, but I think lamb is the thing.

Located in East and Cental Asia, Mongolia is bordered by Russia to the north and China to the south, east and west. Although Mongolia does not border Kazakhstan, it is only 24 miles from the country's eastern tip.

Founded by Genghis Khan in 1206, Mongolia gained independence from China until 1921 and finally achieved international recognition as recently as 1945. Following this period, Mongolia was heavily influenced by Russia and the Soviet Union, but in 1990, the country formed a multi-party system and constitution, and in 1992, a market economy emerged. The Tibetan Buddhist culture predominates in Mongolia.

Cusine in Mongolia reflects both the extreme continental climate, which reaches temperatures of -40C, and the nomadic life style that 30% of the population practices. For that reason, dairy, meat and animal fats with very few spices or vegetables, are the basis for most Mongolian diets. Just as the Arctic Inuits subsist on a diet rich in animal fat, so too, the Mongolian's - particularly those who work outside, insulate their bodies against the cold in this way. Food is influenced by Chinese and Russian traditions, and meats such as mutton, cattle, horse and yak are typical.  Yogurt, curds and kefir are commonly eaun dairy products.


Buuz - Steamed Mongolian Dumplings (Adapted from Mongol Food)

Dough
2 cups flour
3/4-1 cup water

Mix flour and water together with a wooden spoon until blended and dough is smooth and elastic, but not dry. If you need to add a little water, do so a teaspoon at a time to avoid making the dough too sticky.
On a floured surface, pull off golf ball sized pieces. Using the palm of your hand, gently flatten out.
Next, roll out a 6-7-inch circles.


Filling
1 1/2 lbs. ground lamb
1 medium onion, diced
2 cloves garlic, minced
1 tsp. caraway seeds
salt and pepper to taste

Combine all the ingredients until thoroughly blended (your hands will work best).

Holding the circle of dough in your hand, fill each circle with a tablespoon of the filling. Starting on one side, lift the dough up and around the filling and pinch it between your thumb and forefinger, working your way around the dumpling, leaving a small opening at the top. 

Using a metal or bamboo steamer, place dumplings (try not to crowd them) side by side and steam for approximately 12-15 minutes. Remove, top with a little butter and season with freshly ground black pepper.

Final Assessment: These are wonderful, delicious and easy to make. They're perfect as snack, accompanied by soup or as an appetizer before a meal. Which ever you choose, these little dumplings are all kinds of divine.

Friday, March 11, 2011

Day 113.5 - Homemade Twinkies - With How-To Video


As a as rule, I blame my kids for (frequent) lapses in my ever-declining mental acuity - trust me - those savages boys deserve it. So, the blame for today's foray into Twinkidom rests squarely on the shoulders of my son, Tim. Yes, the one who challenged me to cook my way around the world, and who, several days ago begged me make Twinkies, using his best "please Mommy, I really love you" face in all its teenage cuteness. How could I say no? Plus, I knew I'd be relentlessly pestered until I caved. See how tough I am?

But how? Turning to Google, I shouted out loud when I discovered that there is indeed such a thing as a canoe pan that turns out perfectly shaped Twinkies. Will wonders never cease?! It took me about 5 seconds to get my credit card out, and for $20 I got the canoe pan AND the filling injector, plus free shipping. Shazzam!

 Needless to say, I was more excited about this find than just about anything in recent memory, and quickly gave up trying to hide my giddy anticipation, despite a lot of eye rolling and "there she goes again" comments from the Riff-Raff who live in my house. Even my sweet shepherd, who supports my every endeavor with unfailing loyalty, looked at me sideways and shook his handsome head.

Click on the link for ha how-to video, courtesy of my friends at How2Heroes:

http://how2heroes.com/videos/dessert-and-baked-goods/homemade-twinkies

Finally, this afternoon I brought a few of these over to my talented friend and artist Kate, who runs the beautiful Kamala boutique. Taking one bite, Kate promptly declared that these must be eaten while naked, preferably fed to you. So there you have it...plans for the weekend.


Twinkilicious Twinkies - (Adapted from Simple Math Bakery)
Makes 24 Cakes

1 1/2 cups all-purpose flour
4 tablespoons corn starch
1 1/2 cups granulated sugar
1 Tbsp. baking powder
1 tsp. salt
1/2 cup canola oil
3/4 cup cold water
1 tsp. vanilla
7 eggs, separated

Preheat the oven to 350 F. Spray a canoe pan (you can use muffin tins as well) - be sure to spray well because the batter is very sticky.

Using a hand mixer, beat the egg whites until they are very stiff. They should hold their peak when removed from the bowl. Set aside.

Using a stand mixer fitted with a paddle, combine the flour, corn starch, sugar, baking powder, and salt in a large bowl. Whisk together or beat on low speed for a minute, until combined. Add oil, water, vanilla extract, and egg yolks. Beat on medium speed until smooth.

Using a rubber spatula, gently scoop 1/3 of the egg whites into the batter. Fold the egg whites in by slicing the the spatula through the center of the bowl, gently scooping batter from the bottom and wrapping it over the top. Turn the bowl 1/4 turn and repeat until the egg whites are barely visible. Repeat this process with each remaining 1/3 of the egg whites.

Spoon the batter into the pan, filling the wells 2/3 full. Bake for 8-12 minutes, or until cakes are gold brown and just starting to pull away from the sides of the pan. Cakes will puff up when cooking, but will settle when they cool. Cool cakes in the pan for 5 minutes, then gently remove from the pan using a rubber spatula. All them to cool on a rack, flat side down.

Filling

2 Tbsp. all-purpose flour
1/2 cup milk
1/2 tsp. vanilla extract
1/2 cup unsalted butter, softened
1/2 cup granulated sugar

In a small saucepan, heat the flour and milk over medium heat, stirring constantly. When the mixture becomes a paste (about 5 minutes), remove from heat and allow to cool for 1 minute. Stir in the vanilla extract. Place a piece of plastic wrap directly onto the surface to prevent a skin from forming, and set aside to cool completely.

Using a stand mixer fitted with a paddle attachment, cream the butter and sugar until light and fluffy. Add the cooled milk mixture and beat for 5 minutes, until smooth and creamy.

Use the pastry filler that comes with the pan (or a pastry bag fitted with a round tip) to fill the cakes. Place the tip 1/2 way into the cake and squeeze gently. Holding the cake in your palm while filling it will allow you to feel when it is full. Fill each cake 3 times to ensure that each bite contains filling.

Final Assessment: There are dozens of Twinkie recipes available, but my favorite comes from Simple Math Bakery. In particular, I liked that the filling used butter rather than vegetable shortening, which certainly has it's place in cooking, but tends to make frosting slimy. And, of course, there are no chemicals or additives in this homemade version. Just real, honest to goodness Twinkiliciousness.